This article may contain affiliate links. We may earn a commission when you sign up through our links — at no extra cost to you. Our recommendations are based on independent evaluation and are not influenced by commissions.
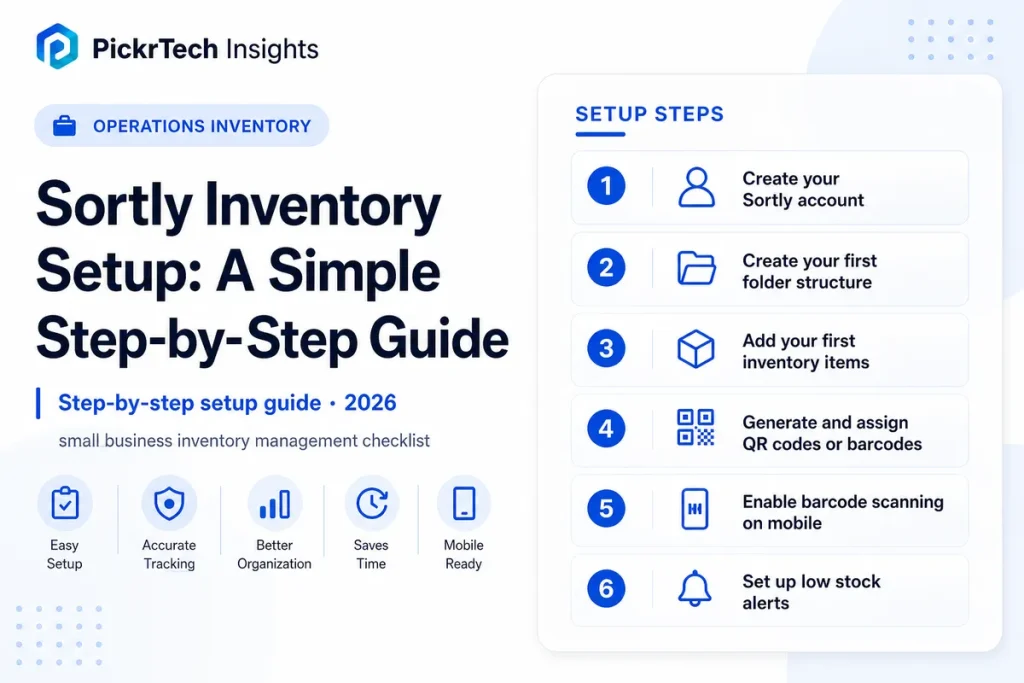
small business inventory management checklist
TL;DR: Get Sortly running in 15–20 minutes with this practical checklist. You’ll create a free account, organize inventory by location, add items with photos, generate QR codes for scanning, and enable real-time stock tracking from your phone. By the end, your team can scan items and watch quantities update instantly across devices.
Before you begin: What you’ll need
Account requirements
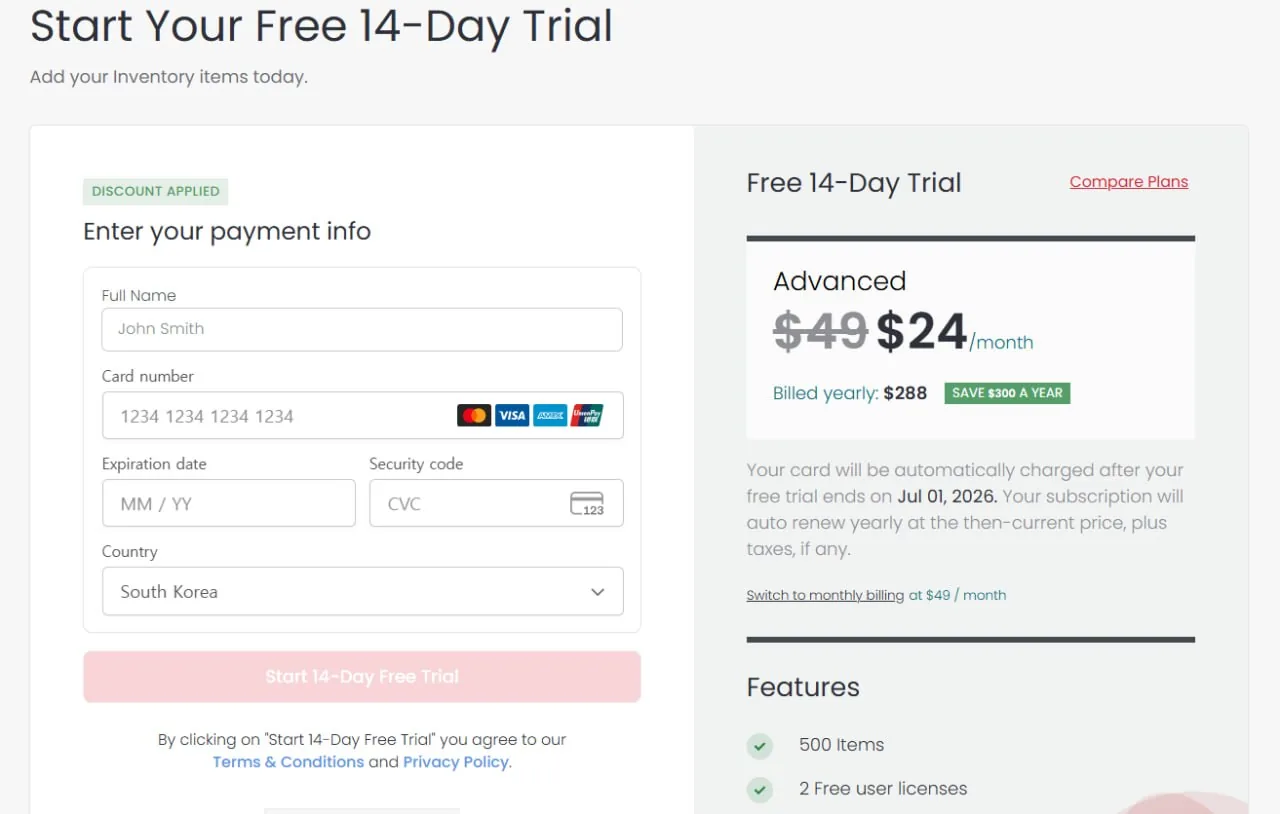
Sign up for a free Sortly account using your email or Google/Apple single sign-on. The free plan lets you store up to 100 items—plenty for testing without entering a credit card. If you are comparing multiple business tools at once, this is a good moment to use a free trial evaluation checklist so you judge each product with the same criteria.
Data to prepare
Gather your current inventory: item names, quantities on hand, and physical locations. If you already have a spreadsheet (CSV format), have it ready for bulk import. Optional but handy: photos of items and a barcode scanner (your phone camera works fine).
Equipment
You need a computer or smartphone to access Sortly. For barcode scanning, download the Sortly mobile app on iOS or Android—it uses your phone’s built-in camera to read QR codes.
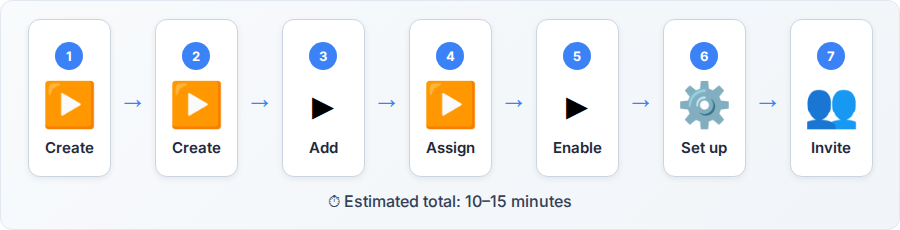
Estimated time: 15–20 minutes
Difficulty: Beginner
Cost implications: This entire setup uses the free plan. Paid plans kick in only when you exceed 100 items or need advanced features like unlimited users or custom reports.
Step-by-step walkthrough
Step 1: Create your Sortly account
Head to https://sortly.com and click the sign-up button. You can register with an email address or log in via Google or Apple—SSO is faster.
Sortly account creation screen with email, name, and optional phone fields
Enter your business name, email, and password (or authenticate through your existing account), then check your inbox for a verification link. Click it, log in, and you’re done.
You’ll land on a blank workspace ready to build. The left sidebar holds navigation options; the main area is where you’ll organize folders and items. Think of it as your command center.
Expected result: You’re logged into a clean Sortly workspace with the ability to create folders and add inventory.
💡 Pro tip: Use your work email so inviting team members later is seamless—no confusion about which account is yours.
Step 2: Create your first folder structure
Sortly onboarding modal shown after first login
Before adding individual items, think about how your inventory actually sits in the real world. Create top-level folders for your physical locations: click “Create Folder” or the “+” button and name it “Warehouse,” “Stockroom,” “Office,” or whatever matches your space.
Next, add subfolders within each location for product categories or aisles. Under “Warehouse,” you might create “Electronics,” “Office Supplies,” and “Seasonal Items.” This nested structure mirrors your physical layout, making it dead simple to locate anything and set permissions by department later.
Add tags or notes to folders if it helps. Getting this right upfront prevents a messy flat list and saves you hours of searching down the road.
Expected result: A folder tree that reflects your physical locations and product categories.
Step 3: Add your first inventory items
Click into a folder and select “Add Item” or hit the “+” button. Type the item name (e.g., “Laptop Computer Model X”), enter the quantity you have, and add a unit price if you’re tracking cost. Upload a photo by snapping it from your phone or uploading from your computer—photos are invaluable later when your team needs to pick the right item.
Alternatively, skip manual entry and bulk import via CSV. Download Sortly’s CSV template from the Help Center, fill it with your spreadsheet data (item name, quantity, location, price), and upload it. Sortly maps your data into the folders you created. If your workflow also touches customer orders or sales follow-up, it may help to compare inventory tracking with the best CRM tools for small business.
Start by adding 5–10 high-value or frequently tracked items by hand. This hands-on approach teaches you the interface before you commit to migrating your entire inventory.

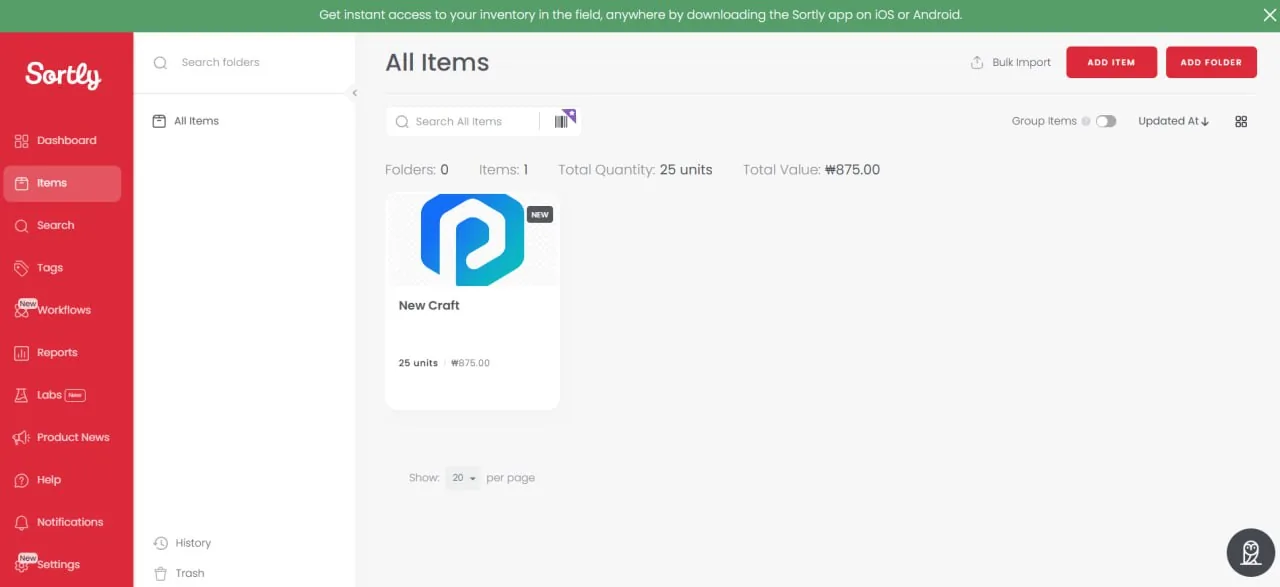
Sortly All Items view with inventory summary, sidebar navigation, and item cards
Expected result: 5–10 items visible in your folders as cards or list entries, complete with names, quantities, and photos.
💡 Pro tip: If an item comes in multiple variants (colors, sizes, etc.), photograph it from a few angles. This prevents picking mistakes later.
Step 4: Generate and assign QR codes or barcodes
Once items are in Sortly, you can generate QR codes or link existing barcodes to them. Select an item and look for “Generate Label” or “Barcode.” Sortly creates a unique QR code for each one. Print these labels on standard Avery label paper using your regular printer, then stick them onto your physical items.
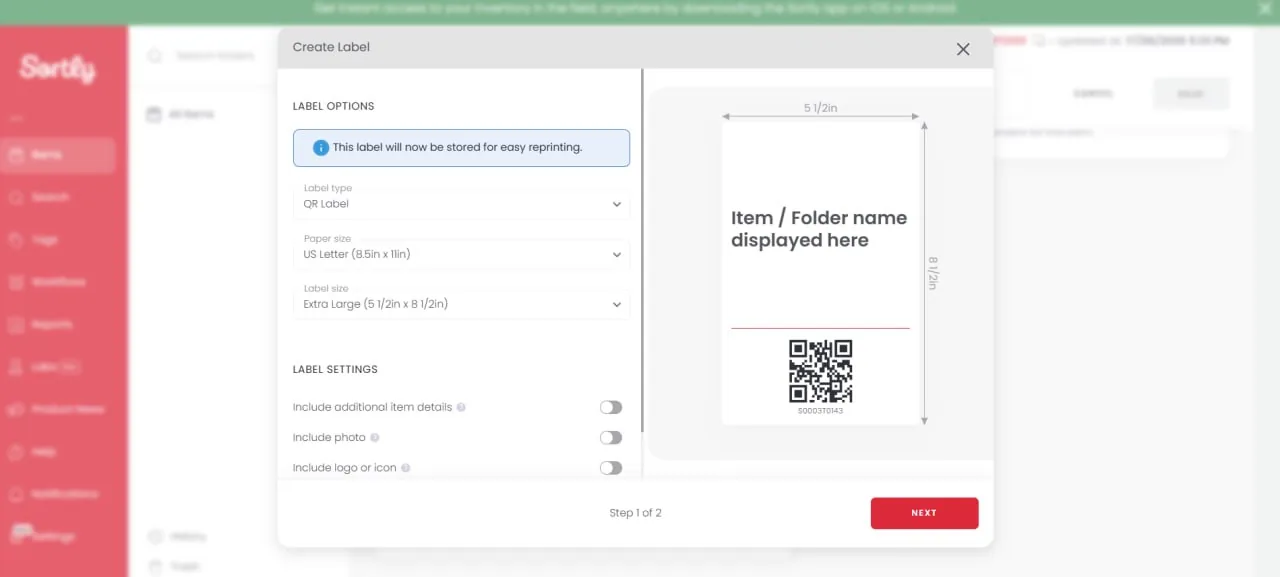
Sortly label creation modal with QR label preview and paper size options
If items already have barcodes (like retail products), you can manually link their barcode numbers to the item record instead of generating new codes. This preserves your existing barcode data and lets you scan standard retail barcodes.
You can print labels one at a time or in batches. Sortly generates a PDF ready to print, saving you the hassle of creating labels manually.
Expected result: Printed QR code labels ready to apply to items, or barcodes linked to digital records in Sortly.
Step 5: Enable barcode scanning on mobile
Download the Sortly mobile app from the iOS App Store or Google Play Store. Log in with your account.
Open the app and find the camera or scanning icon—usually at the bottom or top. Grant camera permissions when prompted.
Point your phone at a QR code or barcode you printed earlier. The app recognizes the code instantly, pulls up the item details, and lets you check the item in or out. When you scan, the quantity updates in real-time across all devices. Check out an item, and its quantity drops; check it back in, and it goes up.
Test this with one item first. Scan the code, confirm the item details appear correctly, and complete a check-in or check-out. You’ll see the quantity change immediately in the app and on the web dashboard.
Expected result: The mobile app successfully scans a QR code or barcode, displays the correct item, and allows real-time quantity updates.
💡 Pro tip: You don’t need a fancy barcode scanner—your phone’s camera is enough. This keeps setup costs nearly zero.
Step 6: Set up low stock alerts
For critical items, define a minimum stock threshold. Open an item’s details in Sortly and find the “Min Quantity” or “Low Stock Alert” field.
Enter the minimum number you want on hand. If you never want to drop below 5 units of a product, enter 5.
When stock falls below this threshold, Sortly sends email or in-app notifications reminding you to reorder. You can customize thresholds item-by-item based on how long items take to arrive, how fast they sell, and how much space you have. High-value or fast-moving items deserve lower thresholds; slow-movers may not need alerts at all.
Start with alerts on your top 10–15 items, then expand once you’re comfortable.
Expected result: Low stock alerts configured on key items. When inventory drops below the threshold, you get notified.
Step 7: Invite team members and set permissions
If your staff needs inventory access, add them to your account. In Sortly’s settings or admin panel, find “Team” or “Users” and click “Invite.” Enter their email address and choose a role: Admin (full access), User (can scan and add items), or View Only (read-only access).
For security, restrict folder access if certain staff should only see specific areas—for example, warehouse staff shouldn’t see office inventory. After you invite a user, customize their folder permissions to limit what they can see and edit.
Team members get an email invitation and must verify their account before logging in. Multi-user setup takes just a few clicks but dramatically improves team coordination.
Expected result: Team members invited and assigned roles. They receive email invitations and can access the workspace once they verify.
Common problems and fixes
CSV import fails or displays a formatting error during bulk upload.
⚠️ Cause: Your CSV file doesn’t match Sortly’s import template structure. Common culprits: extra columns, mismatched headers, or special characters that confuse the parser.
🔧 Fix: Download the official CSV import template directly from Sortly’s Help Center. Populate it with your data in the exact format shown—column order matters. Open your CSV in a plain text editor or Excel to verify column headers match the template precisely. Remove any extra blank rows at the end of the file before uploading again.
QR code scanner fails to recognize printed labels or reads inconsistently.
⚠️ Cause: The printed QR codes are too small, printed at low resolution, or your camera lens is dirty. Sortly-generated codes need adequate size and contrast to scan reliably.
🔧 Fix: Reprint labels at a larger size—at least 1.5 inches square works well. Make sure your printer’s quality is set to standard or high. Clean your phone’s camera lens with a soft cloth. Test scanning from different distances (6–12 inches is ideal). If labels are old or faded, reprint them—faded QR codes won’t scan.
Mobile app doesn’t update quantities in real-time, or changes appear delayed on desktop.
⚠️ Cause: The app is running in offline mode or your internet connection is weak. Changes sync when the app reconnects, but it can take a few seconds to a few minutes.
🔧 Fix: Verify your phone has an active internet connection (WiFi or cellular). Close and reopen the mobile app to force a sync. Check that Sortly’s sync setting is enabled—it usually is by default. If the web dashboard still shows outdated quantities after several minutes, refresh your browser. Weak WiFi delays syncs—move closer to your router or switch to cellular data.
Users report they can’t find items or folders they should have access to.
⚠️ Cause: Folder permissions are too restrictive, or the user role (View Only) doesn’t grant necessary access. Items may exist in folders the user can’t see.
🔧 Fix: As an Admin, review the user’s role and folder permissions in Team settings. Verify that restricted folders are intentional. If a user needs to see everything, upgrade their role from View Only to User. If they only need specific folders, make sure those folders are explicitly allowed in their permissions.
Barcode links disappear after syncing or items lose their barcode associations.
⚠️ Cause: A rare sync conflict occurs, or barcode data was entered in the wrong field during manual linking.
🔧 Fix: Re-link the barcode by editing the item and entering the barcode number in the dedicated “Barcode” field (not in the item name or notes). Save and refresh. If this happens repeatedly, test with a single item first to ensure the barcode format is correct—some barcodes use special characters that may not import properly.
Verification checklist
- You’ve created a free Sortly account and can log in from desktop and mobile
- You’ve built a folder structure representing your physical locations and product categories
- You’ve added at least 5–10 inventory items with names, quantities, and photos
- You’ve generated and printed QR code labels and attached them to physical items
- You’ve tested mobile app barcode scanning and confirmed quantities update in real-time
- You’ve set low stock alerts on at least 3 critical items
- You’ve invited at least one team member and confirmed they received their invitation email
- You’ve verified that desktop and mobile views show the same item counts and locations
When to consider a different approach
Sortly works well for small businesses managing straightforward, single-location or multi-location inventory without complex requirements. But some situations call for a different tool.
Manufacturing or assembly: If your business manufactures products with bill-of-materials (BOM) tracking, recipe-style ingredient management, or work-order tracking, Sortly’s item-level focus won’t cut it. You’d need a platform designed for manufacturing that handles BOM hierarchies and production-batch tracking.
Multi-warehouse with advanced shipping: If you run multiple warehouses and need sophisticated inter-warehouse transfers, automated picking, or shipping-label integration, Sortly’s basic folder structure might feel limiting. Enterprise inventory platforms offer routing logic and carrier integrations that Sortly doesn’t.
Accounting system requirements: If you require deep integration with accounting software (QuickBooks, Xero, NetSuite), compliance reporting, or automated journal entries when inventory changes, you’ll need an inventory system with accounting-specific connectors. Sortly’s basic cost-tracking won’t replace dedicated accounting software.
Unsure if Sortly is right for you? Start with the free plan and test these three scenarios. If they don’t match your workflow, check out software reviews on PickrTech for alternatives designed around manufacturing, enterprise, or accounting-heavy operations.
Recommended first 30-minute setup order
1. Create your account (2 minutes): Go to Sortly.com, sign up with email or SSO, and verify your account. You’ll land on a blank workspace—this is your starting point.
2. Build top-level folders only (5 minutes): Create 3–4 location folders (Warehouse, Stockroom, Office) without subfolders yet. Subfolders can wait; focus on broad organization first to save time.
3. Add your top 10 items manually (10 minutes): Add high-value or frequently tracked items with names, quantities, and photos. Skip cost fields for now—you can add them later. This gives you real data to work with and teaches you the interface.
4. Generate and test one QR code (8 minutes): Create a label for one item, print it, stick it on the physical item, and test scanning it with the mobile app. This confirms the scan-to-update workflow works before you print labels for everything.
5. Skip low-stock alerts and team invites for now (defer to later): You can configure these after your first week of using Sortly. Prioritizing speed over completeness means you’ll have a working system faster and can refine it based on how you actually use it.
Setup mistakes to avoid
Mistake 1: Creating one flat list instead of nested folders. Many people add all items to a single “Inventory” folder without organizing by location or category. This makes finding items slow and prevents you from setting location-based permissions. Spend 5 minutes upfront building a logical folder tree—it pays dividends within days.
Mistake 2: Skipping photos when adding items. Typing just the item name saves seconds per item but creates visual confusion later. Your team won’t remember whether “Widget A” is the red one or the blue one. Always take a quick photo, even a simple snapshot from your phone. Sortly supports this natively.
Mistake 3: Ignoring low-stock thresholds for everything. You can technically skip this step, but you’ll miss the main benefit of automation—preventing stockouts. Set minimum quantities for your 10 most critical items in week one. This catches high-demand products before they disappear without requiring manual checking.
Mistake 4: Forgetting to restrict user permissions by folder. If you invite warehouse staff with User role, they can see and edit everything by default, including sensitive pricing or office inventory. Always review folder permissions when adding users—restrict them to only the areas they need.
Frequently asked questions
Q: What’s the limit on the free plan, and when do I need to pay?
A: Sortly’s free plan supports up to 100 items. Once you exceed this, you’ll need to upgrade to a paid plan. Check the official pricing page to see current plan costs and features. Many small businesses stay on the free plan for months; you only upgrade when growth requires it. Your costs depend on how many items you track and whether you need advanced features like unlimited users or custom reports.
Q: Can I use a standard barcode scanner (not my phone), or do I need the Sortly scanner?
A: You can use a standard USB or Bluetooth barcode scanner with the Sortly web dashboard on a computer. However, the mobile app is smartphone-camera-based and doesn’t directly integrate third-party scanners—it uses your phone’s camera to read QR codes or barcodes. For warehouse-scale scanning with dedicated hardware, you’d typically use the web dashboard on a computer with a barcode scanner connected via USB. This gives you flexibility depending on your setup.
Q: Can I import my existing inventory spreadsheet, or do I have to type everything manually?
A: You can bulk import via CSV. Download Sortly’s CSV template from the Help Center, populate it with your spreadsheet data (matching the column headers exactly), and upload it. This saves hours compared to manual entry. Test with a small batch first to ensure your data format is correct before importing your entire inventory.
Q: Will my data sync between my phone and computer if I’m offline?
A: Sortly syncs data when you’re connected to the internet. If you make changes offline on the mobile app, they’ll sync once your connection returns. For mission-critical scanning in areas without WiFi, ensure your phone has a cellular data connection to keep data in sync in real-time. You can’t scan reliably without connectivity, so plan accordingly.
Q: Can I track expiration dates or serial numbers in Sortly?
A: Sortly supports custom fields, so you can create fields for expiration dates, serial numbers, or any other metadata your business tracks. However, Sortly’s primary focus is quantity and location—it’s not designed for pharmaceutical or serialized-asset-heavy operations. If tracking expiration is critical to your business, verify this feature works for your specific use case before fully committing to Sortly.
Sources and notes
- Sortly official homepage — used to verify account signup and core features
- Sortly pricing page — used to verify free plan limits and team access
- Sortly features page — used to verify barcode scanning capabilities
- Sortly official website — used to verify folder structure, item management, QR code generation, low-stock alerts, and user permissions
- Sortly features page — used to verify label generation, photo uploads, and mobile scanning features
Disclaimer
This guide is for general informational purposes only and does not constitute professional accounting, tax, legal, or financial advice. Pricing, features, and plan details were verified against Sortly’s official website as of June 2026 and may change without notice. Always consult a qualified professional for advice specific to your business situation. PickrTech may earn a commission when you sign up through our links at no extra cost to you. Our recommendations are based on independent evaluation and are not influenced by compensation.
Last reviewed: June 2026 by the PickrTech editorial team.