Set Up GitHub step by step workflow guide
This article may contain affiliate links. We may earn a commission when you sign up through our links — at no extra cost to you. Our recommendations are based on independent evaluation and are not influenced by commissions.
TL;DR: GitHub is a code hosting platform that centralizes version control for teams. Set up an account, install Git, create a repository, push your first commit, invite collaborators, and protect your main branch in under 15 minutes.
Who this guide is for
This guide is for individual developers, small development teams, and technical leads setting up GitHub for the first time. You’re a good fit if you’re building a new project, starting collaborative development, or establishing a team code repository. Use this workflow when you need a hosted, centralized place to store code, track changes across team members, and enforce quality standards through code review.
Who should skip this
Specific situations require different tools or infrastructure than this basic workflow.
Skip this guide if your organization uses enterprise single sign-on (SSO), requires GitHub Enterprise Server, or has existing GitHub infrastructure. This workflow also isn’t ideal for non-developers who don’t need Git or command-line tools, or teams already using alternative version control systems like GitLab or Bitbucket without migration plans.
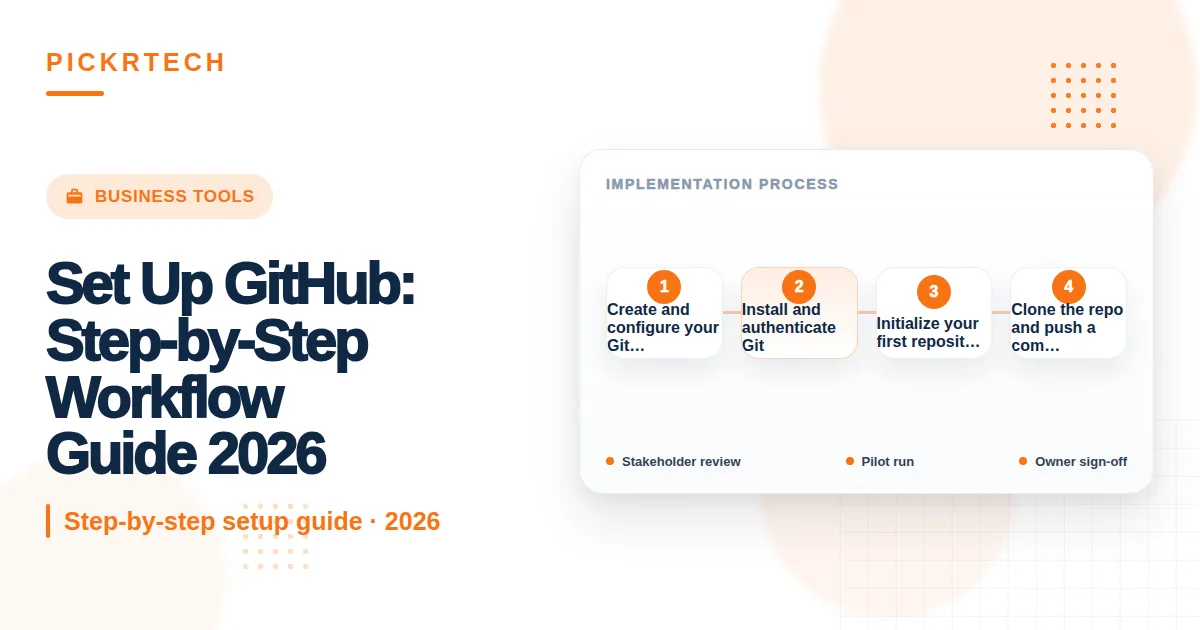
The workflow at a glance
- Create GitHub account — Sign up, verify email, enable 2FA
- Install and authenticate Git locally — Download Git, configure identity, set up SSH keys or PAT
- Create a repository on GitHub — Add README and .gitignore
- Clone and make your first commit — Pull repo locally, make a change, push it back
- Invite team members — Grant collaborators access
- Protect the main branch — Enforce pull request reviews before merging
Prerequisites
Gather the necessary tools and team information before starting the setup.
Tools needed
- A web browser (Chrome, Safari, Firefox, or Edge)
- Git installed on your machine (git-scm.com)
- Terminal or command-line access (Mac: Terminal; Windows: PowerShell or Git Bash; Linux: any terminal)
- A valid email address
Team setup
- If working with collaborators, collect their GitHub usernames or email addresses in advance
- Designate a repository owner (typically the project lead)
- Agree on branch naming conventions with your team before starting
Estimated time: 15 minutes
Difficulty: Beginner
Step-by-step workflow
Step 1: Create and configure your GitHub account
Open github.com in your browser and click Sign up. Enter your email address, create a strong password (at least 12 characters, mix of uppercase, lowercase, numbers, and symbols), and choose a username. Complete the Captcha and click Create account.
GitHub will send a verification email to your inbox. Open it and click the verification link — this activates your account fully and prevents unauthorized access. Email verification is required by GitHub’s security policy.
After verification, navigate to Settings (top right profile menu → Settings). Go to Password and authentication and enable Two-Factor Authentication (2FA) by clicking Enable 2FA. GitHub recommends authenticator apps like Authy or Microsoft Authenticator over SMS. Save your recovery codes in a secure location.
Expected outcome: An active GitHub account with 2FA enabled, ready to create repositories.
Step 2: Install and authenticate Git
Download Git from git-scm.com and run the installer for your operating system. Use default settings unless you have specific preferences.
Open your terminal or command prompt and verify installation by typing git --version. You should see output like git version 2.43.0.
Next, configure Git with your identity. These details will be attached to every commit you make. Run these commands in your terminal, replacing the placeholder text:
git config --global user.name "Your Name"
git config --global user.email "your.email@example.com"
Use the same email address you registered with GitHub. This links your commits to your GitHub account.
Now set up authentication. GitHub no longer accepts account passwords for Git operations. You have two options:
Option A: SSH keys (recommended for frequent use)
In your terminal, run ssh-keygen -t ed25519 -C "your.email@example.com". Press Enter to use the default file location, then create a passphrase (or leave blank for no passphrase). This generates a public and private key pair.
Next, add the SSH key to your GitHub account. Go to Settings → SSH and GPG keys → New SSH key. Open your terminal and run cat ~/.ssh/id_ed25519.pub (Mac/Linux) or type $env:USERPROFILE.sshid_ed25519.pub (Windows PowerShell). Copy the entire output and paste it into the GitHub key field. Give it a descriptive name like “My Laptop” and save.
Option B: Personal Access Token (PAT) for HTTPS
Go to Settings → Developer settings → Personal access tokens → Tokens (classic). Click Generate new token and select scopes repo (full control of repositories) and user (read user profile data). Set an expiration date (30 days to 1 year) and click Generate. Copy the token immediately and store it securely — you won’t be able to view it again.
Expected outcome: Git is installed and configured locally. You can authenticate with GitHub via SSH or PAT, verified by successful SSH connection or token storage.
Step 3: Initialize your first repository
Log into GitHub and click the + icon (top right) → New repository. Enter a repository name (e.g., my-first-project). Add a description like “Learning GitHub workflow with a small team.” Choose Public if you want anyone to see the code, or Private to restrict access to invited collaborators only.
Check the box Add a README file — this creates a README.md where you’ll document your project. Under Add .gitignore, select a template matching your project type (e.g., “Python” for Python projects, “Node” for JavaScript). This file automatically excludes unnecessary files (like node_modules, __pycache__, or .env) from version control, keeping your repository clean and focused on source code.
Click Create repository. GitHub automatically provisions a remote repository hosted on its servers and provides you with a clone URL.
Expected outcome: A hosted repository on GitHub with initial files (README.md and .gitignore) ready to use.
Step 4: Clone the repo and push a commit
On your GitHub repository page, click the green Code button and copy the clone URL. If you set up SSH, use the SSH tab; if using PAT, use the HTTPS tab.
Open your terminal, navigate to a folder where you want to store projects (e.g., cd ~/Projects), and run:
git clone [paste-the-url-you-copied]
Git downloads all files, commit history, and branches from the remote repository to your local machine. Navigate into the cloned folder with cd my-first-project.
Make a test change: open README.md in your text editor and add a line like “This is my first GitHub commit.” Save the file. In your terminal, run:
git status
You’ll see that README.md has been modified. Stage the change with:
git add README.md
Commit the change with a descriptive message:
git commit -m "Update README with introduction"
Now push your commit back to GitHub:
git push origin main
If using SSH and this is your first push, you may be prompted to confirm the connection. Type yes. If using PAT, paste your token when prompted for a password. Refresh your GitHub repository page in the browser — you should see your updated README and your commit in the commit history.
Expected outcome: Local changes are synced to the remote repository on GitHub. You’ve verified that Git, authentication, and the remote connection work correctly.
Step 5: Invite collaborators
On your GitHub repository page, click Settings → Collaborators (or Access → Collaborators in newer layouts). Click Add people. Type the GitHub username or email address of the person you want to invite. Select them from the dropdown and choose a role:
- Maintain: Can push to the repo and manage collaborators, but cannot delete the repo
- Push: Can push changes and open pull requests
- Triage: Can manage issues and PRs without push access
- Pull: Read-only access
For developers actively contributing, choose Push or Maintain. Click Send invitation. GitHub sends the invitee a notification. They must accept the invitation before gaining access — this is a security measure to prevent unauthorized access. The invitation appears in their GitHub notifications and email.
Expected outcome: Team members receive invitations and, after accepting, can push changes, open pull requests, and collaborate on the project.
Step 6: Create a protected branch rule
Go to Settings → Branches → Add rule. Type main in the branch name pattern box. Check these protection settings:
- Require a pull request before merging: Forces all changes through code review
- Require approvals: Set to at least 1 reviewer for small teams, 2+ for larger teams
- Dismiss stale pull request approvals when new commits are pushed: Ensures reviewers approve the latest version
- Require branches to be up to date before merging: Prevents merge conflicts from outdated code
These settings prevent developers from pushing directly to main, which could introduce bugs or bypass quality checks. All changes must go through a pull request and be approved by a teammate before merging.
Click Create to save the rule. Now, attempting to push directly to main will fail with an error, and developers will be directed to create a new branch and submit a pull request instead.
Expected outcome: The main branch is protected. All future changes require a pull request and team approval before merging, enforcing a safe, collaborative workflow.
Common pitfalls and how to avoid them
Review these frequent errors to ensure a smooth setup process.
| Pitfall | Why it happens | Prevention |
|---|---|---|
| Authentication failed: “Remote: Support for password authentication was removed” | GitHub disabled password authentication for security. Attempting to use your account password instead of a PAT or SSH key causes rejection. | Generate a Personal Access Token (PAT) or set up SSH keys before pushing. Update Git credential storage to use your PAT or SSH key instead of your password. |
| “! [remote rejected] main → main (protected branch hook declined)” | You’re attempting to push directly to a protected branch. Branch protection rules require changes to go through pull requests. | Create a new branch (git checkout -b feature-name), push to that branch, and open a pull request for review and approval. |
| “git@github.com: Permission denied (publickey). fatal: Could not read from remote repository.” | Your SSH key is not generated, not added to the SSH agent, or not uploaded to GitHub. Git cannot authenticate using SSH. | Generate an SSH key with ssh-keygen, add it to your SSH agent with ssh-add ~/.ssh/id_ed25519, and upload the public key to GitHub Settings → SSH and GPG keys. |
| Repository clones but you can’t push changes | You cloned using HTTPS but didn’t set up a PAT, or you switched authentication methods after cloning. | Reconfigure the remote URL using git remote set-url origin [new-url] with your PAT or SSH URL, or regenerate credentials in your system keychain. |
| Collaborator invitation expires or gets lost | GitHub invitations expire after 7 days if not accepted. Invitees may miss email notifications. | Resend the invitation from Settings → Collaborators. Ask invitees to check their email and GitHub notifications. Confirm their GitHub username is spelled correctly. |
Scenario fit: When to adapt this workflow
Scenario 1: Setting up a GitHub Organization (not personal repo)
If you’re managing multiple projects or a team with shared ownership, create an organization instead of a personal repository. Go to your GitHub profile → Settings → Organizations → New organization. Organizations allow role-based access control, team management, and organization-level settings.
Adapt Step 3: When creating repositories, create them within the organization. Invite team members to the organization first, then assign them to specific repositories. This scales better for teams with 5+ members and multiple projects.
Scenario 2: Using GitHub CLI for faster setup
If you prefer command-line workflows, download GitHub CLI from cli.github.com. After installation, run gh auth login to authenticate. Then create a repository directly from the terminal:
gh repo create my-project --public --source=. --remote=origin --push
This skips the web UI and automates repository creation, cloning, and initial push in one command. Ideal for experienced developers who spend most time in the terminal.
Scenario 3: Migrating an existing local project to GitHub
If you have a project folder on your machine without version control, initialize Git first:
cd /path/to/project
git init
git add .
git commit -m "Initial commit"
Then create a repository on GitHub without initializing it with a README or .gitignore. Copy the remote URL and run:
git remote add origin [your-repo-url]
git push -u origin main
This connects your local project to the remote repository and pushes all existing code at once.
Templates and examples
Use these standard files to enforce consistency in your project.
Standard .gitignore for Python projects
If you didn’t select a .gitignore template during repo creation, create a file named .gitignore in your repo and copy this content:
# Set Up GitHub: Step-by-Step Workflow Guide 2026
venv/
ENV/
env/

# IDE settings
.vscode/
.idea/
*.swp
*.swo

# Python compiled files
__pycache__/
*.py[cod]
*$py.class
*.so
.Python
build/
develop-eggs/
dist/
downloads/
eggs/
.eggs/
lib/
lib64/

# Environment variables
.env
.env.local

# OS files
.DS_Store
Thumbs.db
Standard Pull Request template
Create a file at .github/pull_request_template.md to guide collaborators when submitting pull requests:
## Description
Briefly describe the changes in this PR.

## Type of Change
- [ ] Bug fix (non-breaking change that fixes an issue)
- [ ] New feature (non-breaking change that adds functionality)
- [ ] Documentation update
- [ ] Breaking change (fix or feature that would cause existing functionality to change)

## Testing
Describe how you tested these changes.

## Checklist
- [ ] My code follows the project's style guidelines
- [ ] I have performed a self-review of my own code
- [ ] I have commented my code, particularly in hard-to-understand areas
- [ ] All new and existing tests passed
Commit this file to your repository. GitHub will automatically populate it every time a collaborator opens a pull request.
Frequently asked questions
Find answers to common questions about Git, GitHub, and this workflow.
Q: What’s the difference between Git and GitHub?
A: Git is software that runs on your computer and tracks code changes locally. GitHub is a web-based platform that hosts Git repositories in the cloud and adds collaboration features like pull requests, issue tracking, and team management. You use Git to make commits; you use GitHub to share and review code with teammates.
Q: Should I use SSH or a Personal Access Token (PAT)?
A: SSH keys are more secure and convenient for frequent use — you don’t need to enter credentials every push. PATs are better for scripts, CI/CD pipelines, or if you work on multiple machines. For personal development, use SSH. For automation or short-term access, use a PAT with a limited expiration date.
Q: What’s the difference between public and private repositories?
A: Public repositories are visible to anyone on the internet but still require push access from authorized collaborators. Private repositories are hidden from the public and only visible to people you invite. Start with private repos for proprietary or in-progress code, and switch to public when you’re ready to share with the community.
Q: How do I undo a commit I just pushed?
A: If you pushed to a non-protected branch, run git revert [commit-hash] to create a new commit that undoes the changes. For protected branches like main, you must create a new pull request with the revert commit. Never use git push --force on shared branches — it rewrites history and breaks teammates’ local copies.
Q: Can I delete a repository?
A: Yes. Go to Settings → Danger Zone → Delete this repository. This is permanent and cannot be undone. Before deleting, consider archiving the repository instead (Settings → Archive this repository) to preserve its history while marking it inactive.
Q: How do I handle merge conflicts?
A: Merge conflicts happen when two branches modify the same lines differently. Git marks conflicting sections in your files with <<<<<<<, =======, and >>>>>>> markers. Edit the file to keep the changes you want, delete the markers, and commit the resolved file. Use a merge tool like VS Code, GitHub Desktop, or your IDE’s built-in conflict resolver for a visual interface.
Recommended tools for this workflow
GitHub Desktop — A GUI for Git that eliminates the need for terminal commands. Ideal for developers who prefer visual workflows. Download from desktop.github.com. Simplifies cloning, committing, and pushing without memorizing Git commands.
Visual Studio Code with Git Graph extension — A lightweight code editor with built-in Git integration. The Git Graph extension visualizes your commit history and branches. Download VS Code from code.visualstudio.com and install Git Graph from the Extensions marketplace. Great for editing code and managing branches in one place.
Sourcetree — A free GUI for Git and Mercurial with advanced features like interactive rebasing and stash management. Download from sourcetreeapp.com. Best for teams needing advanced Git workflows beyond basic commits and pulls.
Authenticator apps (Authy, Microsoft Authenticator, Google Authenticator) — Essential for setting up and managing two-factor authentication. These generate time-based codes for securing your GitHub account. Choose one and enable it during GitHub account setup.
Sources and notes
- GitHub Official Docs — Creating an account on GitHub — used to verify account creation and email verification requirements
- GitHub Official Docs — Two-Factor Authentication — used to confirm 2FA setup and security best practices
- Git Official Documentation — First-Time Git Setup — used to verify Git configuration and username/email setup
- GitHub Official Docs — Creating a Personal Access Token — used to verify PAT generation and authentication methods
- GitHub Official Docs — Creating a new repository — used to confirm repository initialization workflow
- GitHub Official Docs — Ignoring files — used to verify .gitignore functionality
- GitHub Official Docs — Cloning a repository — used to confirm clone process and local setup
- GitHub Official Docs — Pushing commits to a remote repository — used to verify push workflow and authentication verification
- GitHub Official Docs — Inviting collaborators to a personal repository — used to confirm invitation process and access control
- GitHub Official Docs — About protected branches — used to verify branch protection setup and pull request requirements
- GitHub Blog — Token authentication requirements for Git operations — used to confirm password authentication deprecation and PAT requirement
- GitHub Official Docs — SSH troubleshooting — used to verify SSH key setup and permission denied error resolution
This guide is for general workflow education and is not professional advice. Always follow your organization’s security policies and review official GitHub documentation for the most current features.
Last reviewed: May 2026 by the PickrTech editorial team. We use public sources only unless otherwise stated. Product names, pricing, features, and plan details may change over time — verify current details on official websites before making decisions.